High Availability Architecture with S3 | EBS | CloudFront with the help of AWS CLI
Arth Task 6
Webserver configured on EC2 Instance
- Document Root(/var/www/html) made persistent by mounting on EBS Block Device.
- Static objects used in code such as pictures stored in S3.
- Setting up a Content Delivery Network using CloudFront and using the origin domain as an S3 bucket.
- Finally, place the Cloud Front URL on the web app code for security and low latency.
Firstly we launch the AWS ec2 instance in the Mumbai region.
aws ec2 run-instances --image-id ami-0e306788ff2473ccb --instance-type t2.micro --key-name aws-key --security-group-ids sg-095251a12324a6ec1 --region ap-south-1 --subnet-id subnet-2710194f --count 1Connect to the ec2 instance via ssh and running the commands.
ssh -l ec2-user 13.233.97.223 -i aws-key.pem date

ec2-user has limited permission so for easy convenience we are login as the root user.
Download the Apache webserver rpm or software with the help of yum.
ssh -l ec2-user 13.233.97.233 -i aws-key yum install httpd -y
After the rpm installed successfully then we have to start the Apache webserver services.
ssh -l ec2-user 13.233.97.233 -i aws-key sudo systemctl start httpdChecking the status of the Apache webserver is working properly or not.
ssh -l ec2-user 13.233.97.233 -i aws-key sudo systemctl status httpd
Attach the secondary volume to store the data permanently or persistent even after the boot.
aws ec2 create-volume --availability-zone ap-south-1a --size 1 --volume-type gp2The state is available because we haven’t attached it to the instance yet.

After successfully attached the volume we have to attach it to the instance.
aws ec2 attach-volume — instance-id i-02475569367871041 — volume-id vol-0bbc4ea9a8f4d7641 — device /dev/sdhIf the volume is properly attached then the status changed to in-use.

Login to the ec2 instance as an ec2-user via ssh protocol.
ssh -l ec2-user 13.233.97.223 -i aws-key.pem
After attaching it to an instance then we have to partition the external volume and then format it.
fdisk -lThe list of the volume available in the instance.

Create a partition for external volume.
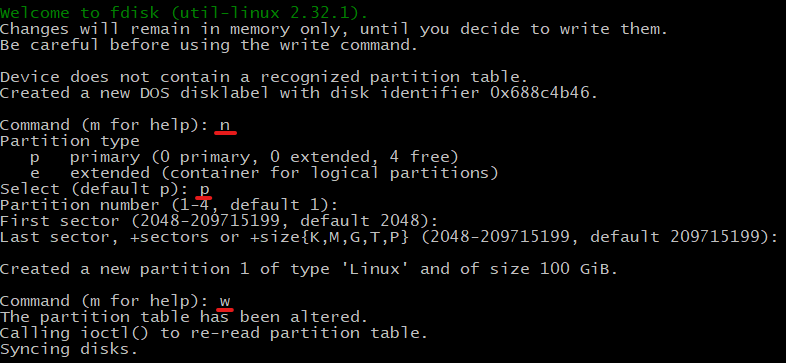
n for the new partition.
p for primary partition.
w to save the partition.
For the rest of the option, just press enter for the default values.

To confirm the partition is created or not.
lsblkFormat the partition i.e created by secondary volume.
mkfs.ext4 /dev/xvdh1
After format, we have to mount it to use it. We are mounting the webserver root document.
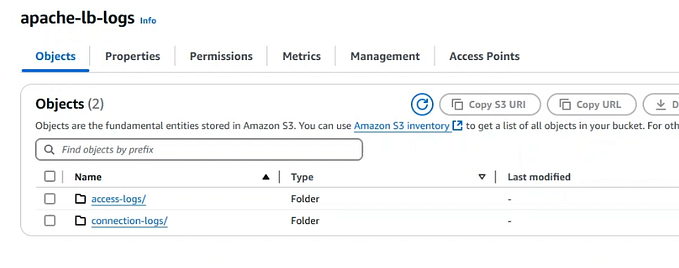
mount /dev/xvdh1 /var/www/htmlCreate the S3 bucket for static data like videos, images, songs, etc.
aws s3 mb s3://example-01
Upload the data to the S3.
aws s3 cp demo-img.jpg s3://example-01/ --acl public-read
Create the Cloudfront with the origin domain i.e S3.
aws cloudfront create-distribution --origin-domain-name example-01.ap-south-1.amazonaws.com
After upload, we have to copy the origin URL and paste it to the code to access it as fast as possible even we are in a different country also.
Download the GitHub code.
ssh -l ec2-user 13.233.97.223 -i aws-key.pem sudo wget https://raw.githubusercontent.com/neerajsinghnegi/index/master/index.html
Move GitHub files to the web server document root to access the data publically.
ssh -l ec2-user 13.233.97.223 -i aws-key.pem sudo mv *.html /var/www/htmlTo see the output of the webserver just copy the public IP and paste in the browser. By default web server read the index.html file. But if your filename is something else then it is compulsory to give the filename also.
13.233.97.223/filename.extensionHere is the output !!